Creating the perfect picture wall for your home
A quick guide to help you transform that unused wall space.
Creating a picture wall can be a great way to showcase your personal style and display your favorite photos and artwork. Whether you want to create a photo gallery in your living room, bedroom, or hallway, there are many different ways to design a picture wall that will suit your needs and reflect your taste. Here is a step-by-step guide to creating your own picture wall.
Step 1: Choose Your Space
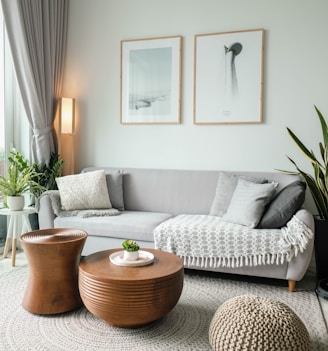
The first step in creating a picture wall is to choose the space where you want to display your photos and artwork. Consider the size of the wall, the lighting, and the layout of the room. Take into account the amount of natural light and artificial light that the space receives, as this will affect the look of your pictures and the colors you choose.
Step 2: Gather Your Materials
Once you have chosen your space, you will need to gather the materials you need to create your picture wall. These might include picture frames, tape, nails, a hammer, a measuring tape, and a level. You may also want to purchase additional materials, such as picture hanging strips, picture hangers, or picture wire, depending on the weight of the pictures you want to display.
Step 3: Decide on Your Layout
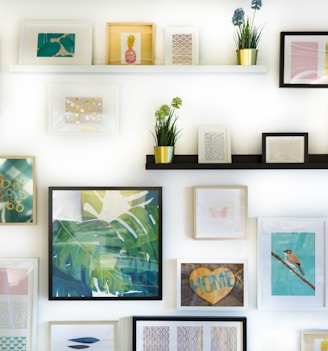
Next, you need to decide on the layout of your picture wall. There are many different ways to arrange your photos and artwork, and you should choose a layout that works well with the size and shape of your space. Some popular layouts include a grid, a diagonal, a random arrangement, or a centered arrangement. You can also mix and match different layouts, such as creating a grid of smaller photos with a larger, central piece of artwork.
Step 4: Measure and Mark Your Wall
Once you have decided on your layout, you need to measure and mark your wall to determine where you will hang each piece. Use a measuring tape to measure the distance between each piece and mark the wall with a pencil. If you are creating a grid layout, you will need to measure and mark both vertically and horizontally. If you are creating a diagonal or a random arrangement, you will need to measure and mark each piece individually.
Step 5: Hang Your Pictures
With your layout marked on the wall, it’s time to start hanging your pictures. Start by hanging the largest pieces first, and work your way down to the smaller pieces. If you are using nails or picture hangers, make sure to hammer them into the wall at a level height, using a level to ensure that each piece is straight. If you are using picture hanging strips or picture wire, follow the instructions carefully to ensure that the pictures are securely attached to the wall.
Step 6: Accessorize
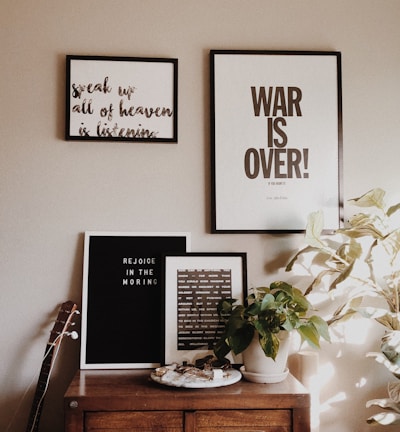
Finally, you can accessorize your picture wall to give it a finished look. You can add decorative items, such as picture frames, plants, or decorative objects, to complement your pictures and add a personal touch to your space. You can also add lighting to highlight your pictures and add depth to your space. Consider using picture lights, wall sconces, or recessed lighting to illuminate your picture wall.
In conclusion, creating a picture wall can be a fun and creative way to showcase your personal style and display your favorite photos and artwork. By following these steps, you can design a picture wall that is tailored to your needs and reflects your taste. Whether you prefer a grid layout, a diagonal arrangement, or a random assortment, there are many different ways to create a picture wall that will suit your needs and bring your space to life.